Headshot Lighting Setup: From Window Light to Studio
Lighting is the single most important factor in headshot photography. Good lighting can make a phone selfie look professional, while bad lighting can ruin an expensive studio session. This guide walks you through three setups, from free to full studio, so you can get flattering light at any budget.
Why lighting matters more than your camera
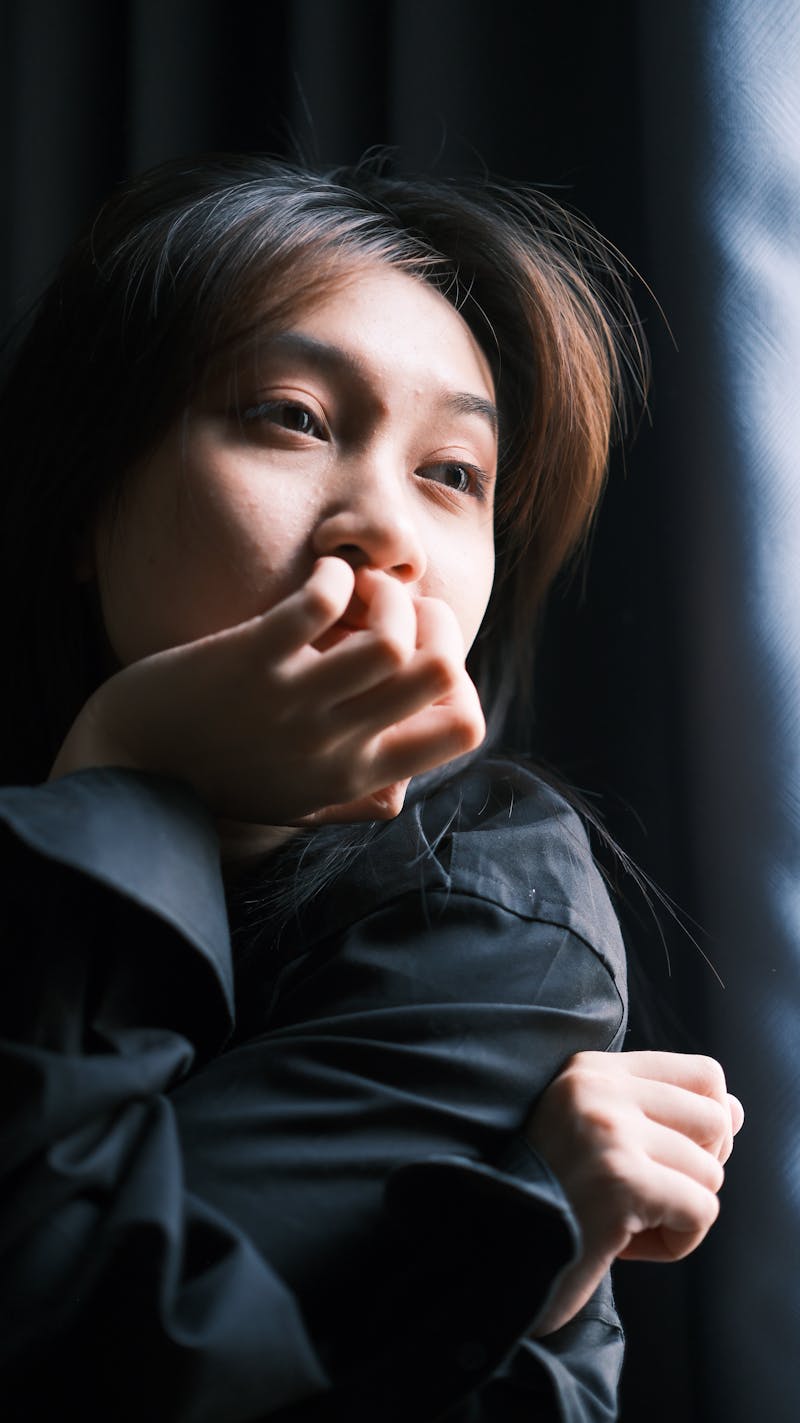
Lighting sculpts the face, adds dimension, and determines whether your features look flattering or harsh. Soft, diffused light minimizes wrinkles, reduces under-eye shadows, and makes skin look healthy and natural. Hard, direct light does the opposite: it deepens every line and creates unflattering shadows under the nose and chin.
The goal for most professional headshots is even, soft light with subtle dimensionality. You want the viewer to see your face clearly without being distracted by dramatic shadows or hot spots.
Setup 1: Window light (free)
A large window with indirect sunlight is one of the best light sources available, and it costs nothing. This is the go-to setup for DIY headshots at home or in an office.
How to set it up
- Find a large window that does not have direct sunlight hitting it. North-facing windows work well, or any window on an overcast day.
- Position yourself about two to three feet from the window, facing it at a slight angle (not straight-on). The light should fall on one side of your face more than the other.
- If the light is too harsh, hang a sheer white curtain or tape a white bed sheet over the window to diffuse it.
- Place a white poster board or a white towel on the shadow side of your face to bounce some light back and fill in dark shadows.
- Stand at least five feet from the background to avoid harsh shadows on the wall behind you.
Best time of day
Mid-morning or mid-afternoon gives you the softest, most consistent light. Avoid midday when the sun is directly overhead, and late afternoon when golden light can create strong color casts.
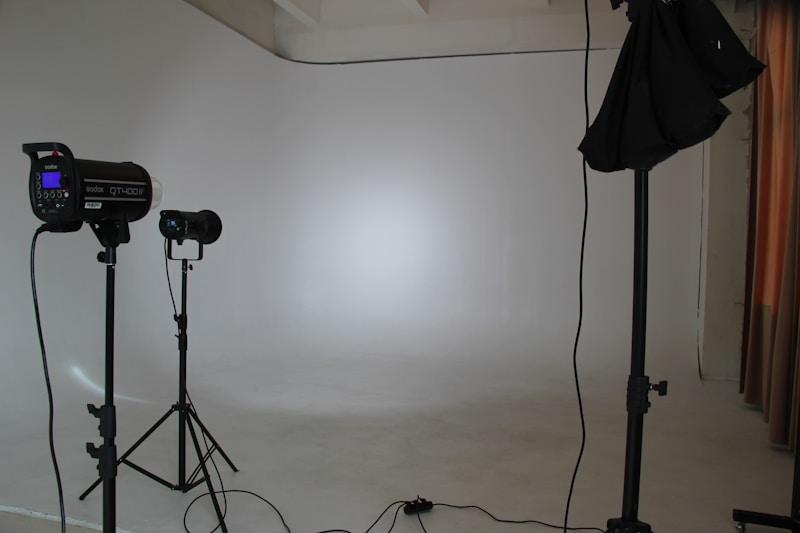
Setup 2: Single light with reflector ($50 to $150)
A single continuous LED light or speedlight with a softbox or umbrella, paired with a reflector, is the sweet spot for affordable studio-quality results.
What you need
- One continuous LED panel or speedlight ($30 to $80).
- A 33-inch white shoot-through umbrella or small softbox ($15 to $30) to diffuse the light.
- A 5-in-1 reflector ($15 to $25) to bounce fill light.
- A light stand ($15 to $20).
How to position it
- Place the light at a 45-degree angle to your face, slightly above eye level. This creates natural-looking shadows that add dimension.
- Position the reflector on the opposite side of the light, angled to bounce light back into the shadow side of your face. The white side gives subtle fill; the silver side gives stronger fill.
- Feather the light by angling it slightly past your face rather than pointing it directly at you. This creates softer, more gradual falloff.
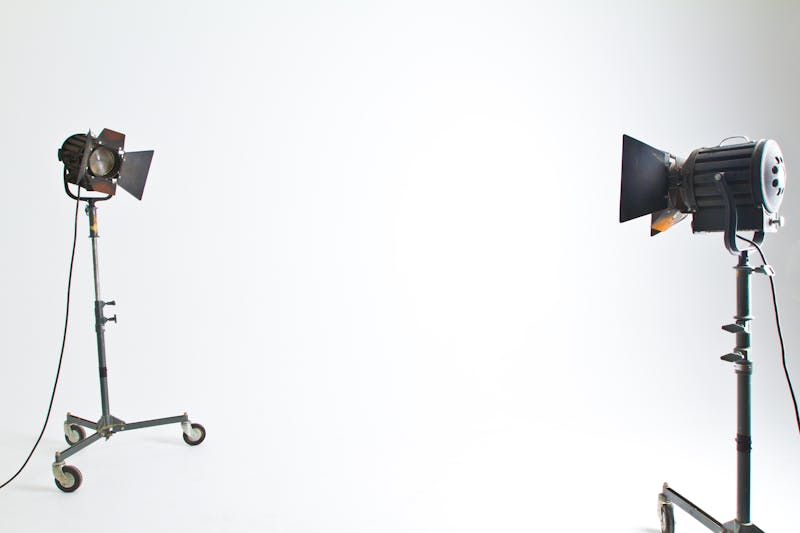
Setup 3: Three-point studio lighting ($200+)
The three-point lighting system is the professional standard for headshot photography. It gives you complete control over every shadow and highlight on the face.
The three lights explained
- Key light. The main light source, positioned at a 45-degree angle to the face and slightly above eye level. This provides the primary illumination and sets the overall mood. Use a large softbox for soft, even light.
- Fill light. A less intense light placed on the opposite side of the key light. Its job is to fill in the shadows without eliminating them entirely. Set it at about 50% the power of the key light for natural-looking depth.
- Rim light (also called hair or back light). Placed behind and to one side of the subject. It creates a thin line of light along the edge of the head and shoulders, separating the subject from the background and adding a three-dimensional quality.
Common lighting patterns
- Loop lighting. The key light creates a small, soft shadow of the nose that “loops” down toward the corner of the mouth. Flattering for most faces.
- Rembrandt lighting. A triangle of light appears on the shadow side of the face under the eye. More dramatic, commonly used for theatrical headshots.
- Butterfly lighting. The key light is placed directly in front and above. Creates a butterfly-shaped shadow under the nose. Popular for beauty and glamour shots.
Natural light vs studio: which is better?
| Factor | Natural light | Studio |
|---|---|---|
| Cost | Free | $50+ |
| Control | Limited (weather dependent) | Full control |
| Feel | Authentic, organic | Polished, consistent |
| Best for | Creative, personal brand | Corporate, team consistency |
| Repeatability | Low | High |
For team headshots where consistency matters, studio lighting is the clear winner. For individual portraits where you want a more natural, personal feel, window light can produce stunning results.
Skip the lighting setup entirely
Setting up lights, reflectors, and diffusers takes time, space, and practice. AiProPortrait removes that entire step from the equation. Upload a few selfies taken in any reasonable indoor light, even a phone camera in your living room, and the AI reconstructs the image with professional studio lighting already applied. No softboxes, no reflectors, no stands. You get 40+ polished headshots with perfect illumination, clean backgrounds, and natural skin tones. Plans start at $19.