Iluminación para fotos profesionales: De la luz de ventana al estudio
La iluminación es el factor más importante en la fotografía de retratos profesionales. Una buena iluminación puede hacer que una selfie de teléfono parezca profesional, mientras que una mala iluminación puede arruinar una sesión de estudio costosa. Esta guía te lleva por tres configuraciones, desde gratuita hasta estudio completo, para que consigas una luz favorecedora con cualquier presupuesto.
Por qué la iluminación importa más que tu cámara
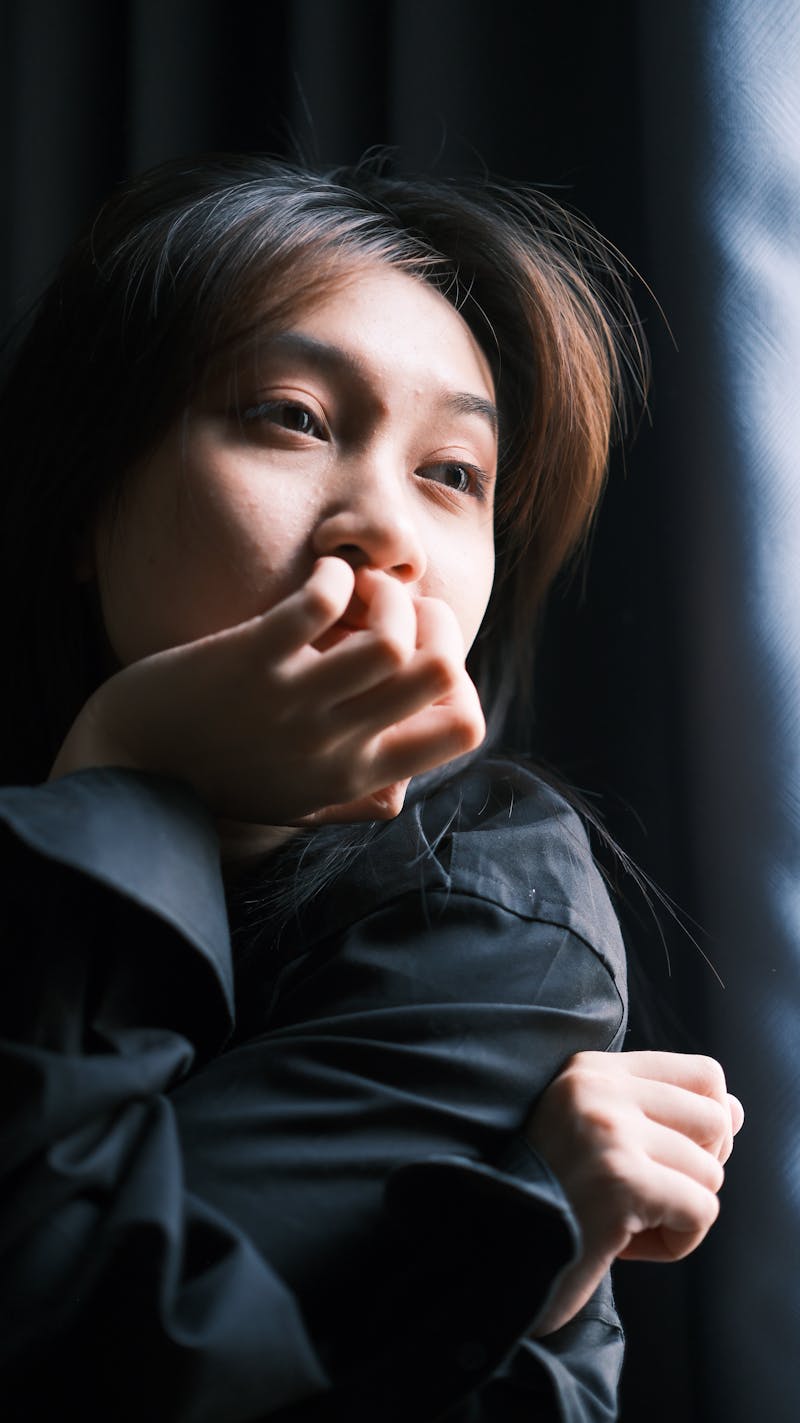
La iluminación esculpe el rostro, añade dimensión y determina si tus rasgos se ven favorecedores o duros. La luz suave y difusa minimiza las arrugas, reduce las sombras bajo los ojos y hace que la piel se vea saludable y natural. La luz dura y directa hace lo contrario: profundiza cada línea y crea sombras poco favorecedoras bajo la nariz y la barbilla.
El objetivo para la mayoría de las fotos profesionales es una luz uniforme y suave con sutil dimensionalidad. Quieres que el espectador vea tu rostro claramente sin distraerse con sombras dramáticas o puntos de luz.
Configuración 1: Luz de ventana (gratis)
Una ventana grande con luz solar indirecta es una de las mejores fuentes de luz disponibles, y no cuesta nada. Es la configuración ideal para fotos caseras o en la oficina.
Cómo configurarla
- Find a large window that does not have direct sunlight hitting it. North-facing windows work well, or any window on an overcast day.
- Position yourself about two to three feet from the window, facing it at a slight angle (not straight-on). The light should fall on one side of your face more than the other.
- If the light is too harsh, hang a sheer white curtain or tape a white bed sheet over the window to diffuse it.
- Place a white poster board or a white towel on the shadow side of your face to bounce some light back and fill in dark shadows.
- Stand at least five feet from the background to avoid harsh shadows on the wall behind you.
La mejor hora del día
A media mañana o media tarde obtienes la luz más suave y consistente. Evita el mediodía cuando el sol está directamente sobre ti, y la tarde cuando la luz dorada puede crear dominantes de color fuertes.
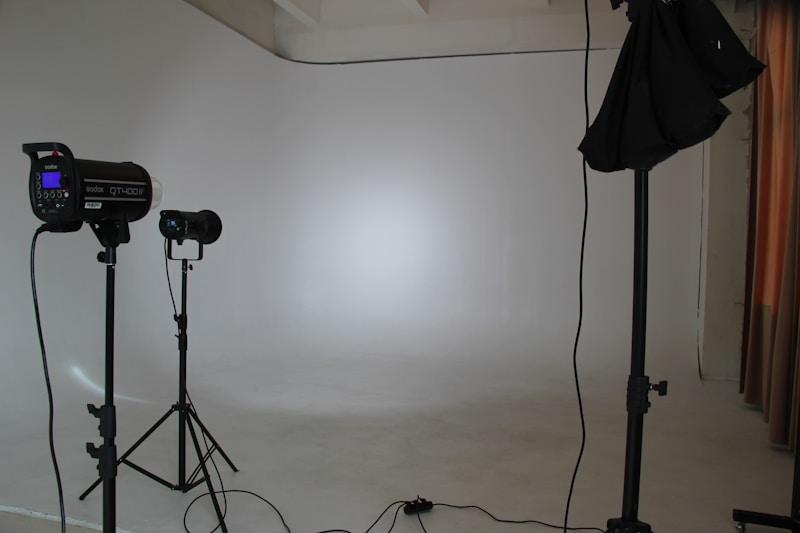
Configuración 2: Una luz con reflector ($50 a $150)
Una sola luz LED continua o flash con softbox o paraguas, combinada con un reflector, es el punto ideal para resultados de calidad estudio a precio asequible.
Lo que necesitas
- One continuous LED panel or speedlight ($30 to $80).
- A 33-inch white shoot-through umbrella or small softbox ($15 to $30) to diffuse the light.
- A 5-in-1 reflector ($15 to $25) to bounce fill light.
- A light stand ($15 to $20).
Cómo posicionarla
- Place the light at a 45-degree angle to your face, slightly above eye level. This creates natural-looking shadows that add dimension.
- Position the reflector on the opposite side of the light, angled to bounce light back into the shadow side of your face. The white side gives subtle fill; the silver side gives stronger fill.
- Feather the light by angling it slightly past your face rather than pointing it directly at you. This creates softer, more gradual falloff.
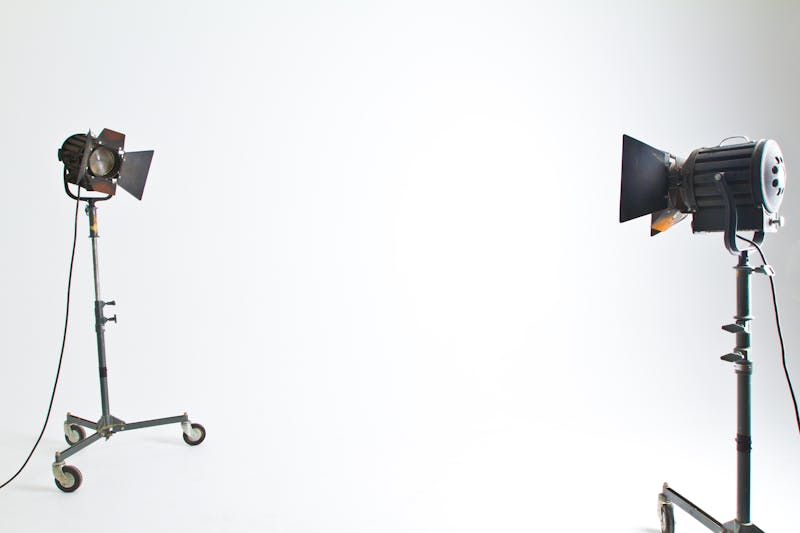
Configuración 3: Iluminación de estudio de tres puntos ($200+)
El sistema de iluminación de tres puntos es el estándar profesional para fotografía de retratos. Te da control total sobre cada sombra y cada luz en el rostro.
Las tres luces explicadas
- Key light. The main light source, positioned at a 45-degree angle to the face and slightly above eye level. This provides the primary illumination and sets the overall mood. Use a large softbox for soft, even light.
- Fill light. A less intense light placed on the opposite side of the key light. Its job is to fill in the shadows without eliminating them entirely. Set it at about 50% the power of the key light for natural-looking depth.
- Rim light (also called hair or back light). Placed behind and to one side of the subject. It creates a thin line of light along the edge of the head and shoulders, separating the subject from the background and adding a three-dimensional quality.
Patrones de iluminación comunes
- Loop lighting. The key light creates a small, soft shadow of the nose that “loops” down toward the corner of the mouth. Flattering for most faces.
- Rembrandt lighting. A triangle of light appears on the shadow side of the face under the eye. More dramatic, commonly used for theatrical headshots.
- Butterfly lighting. The key light is placed directly in front and above. Creates a butterfly-shaped shadow under the nose. Popular for beauty and glamour shots.
Luz natural vs estudio: ¿cuál es mejor?
| Factor | Natural light | Studio |
|---|---|---|
| Cost | Free | $50+ |
| Control | Limited (weather dependent) | Full control |
| Feel | Authentic, organic | Polished, consistent |
| Best for | Creative, personal brand | Corporate, team consistency |
| Repeatability | Low | High |
Para fotos de equipo donde la consistencia importa, la iluminación de estudio es la clara ganadora. Para retratos individuales donde quieres un aspecto más natural y personal, la luz de ventana puede producir resultados impresionantes.
Olvídate de la configuración de iluminación
AiProPortrait se encarga de toda la iluminación por ti. Sube unas selfies tomadas con cualquier luz razonable y la IA genera fotos de calidad estudio con iluminación profesional, fondos y atuendos. Más de 40 fotos desde $19.